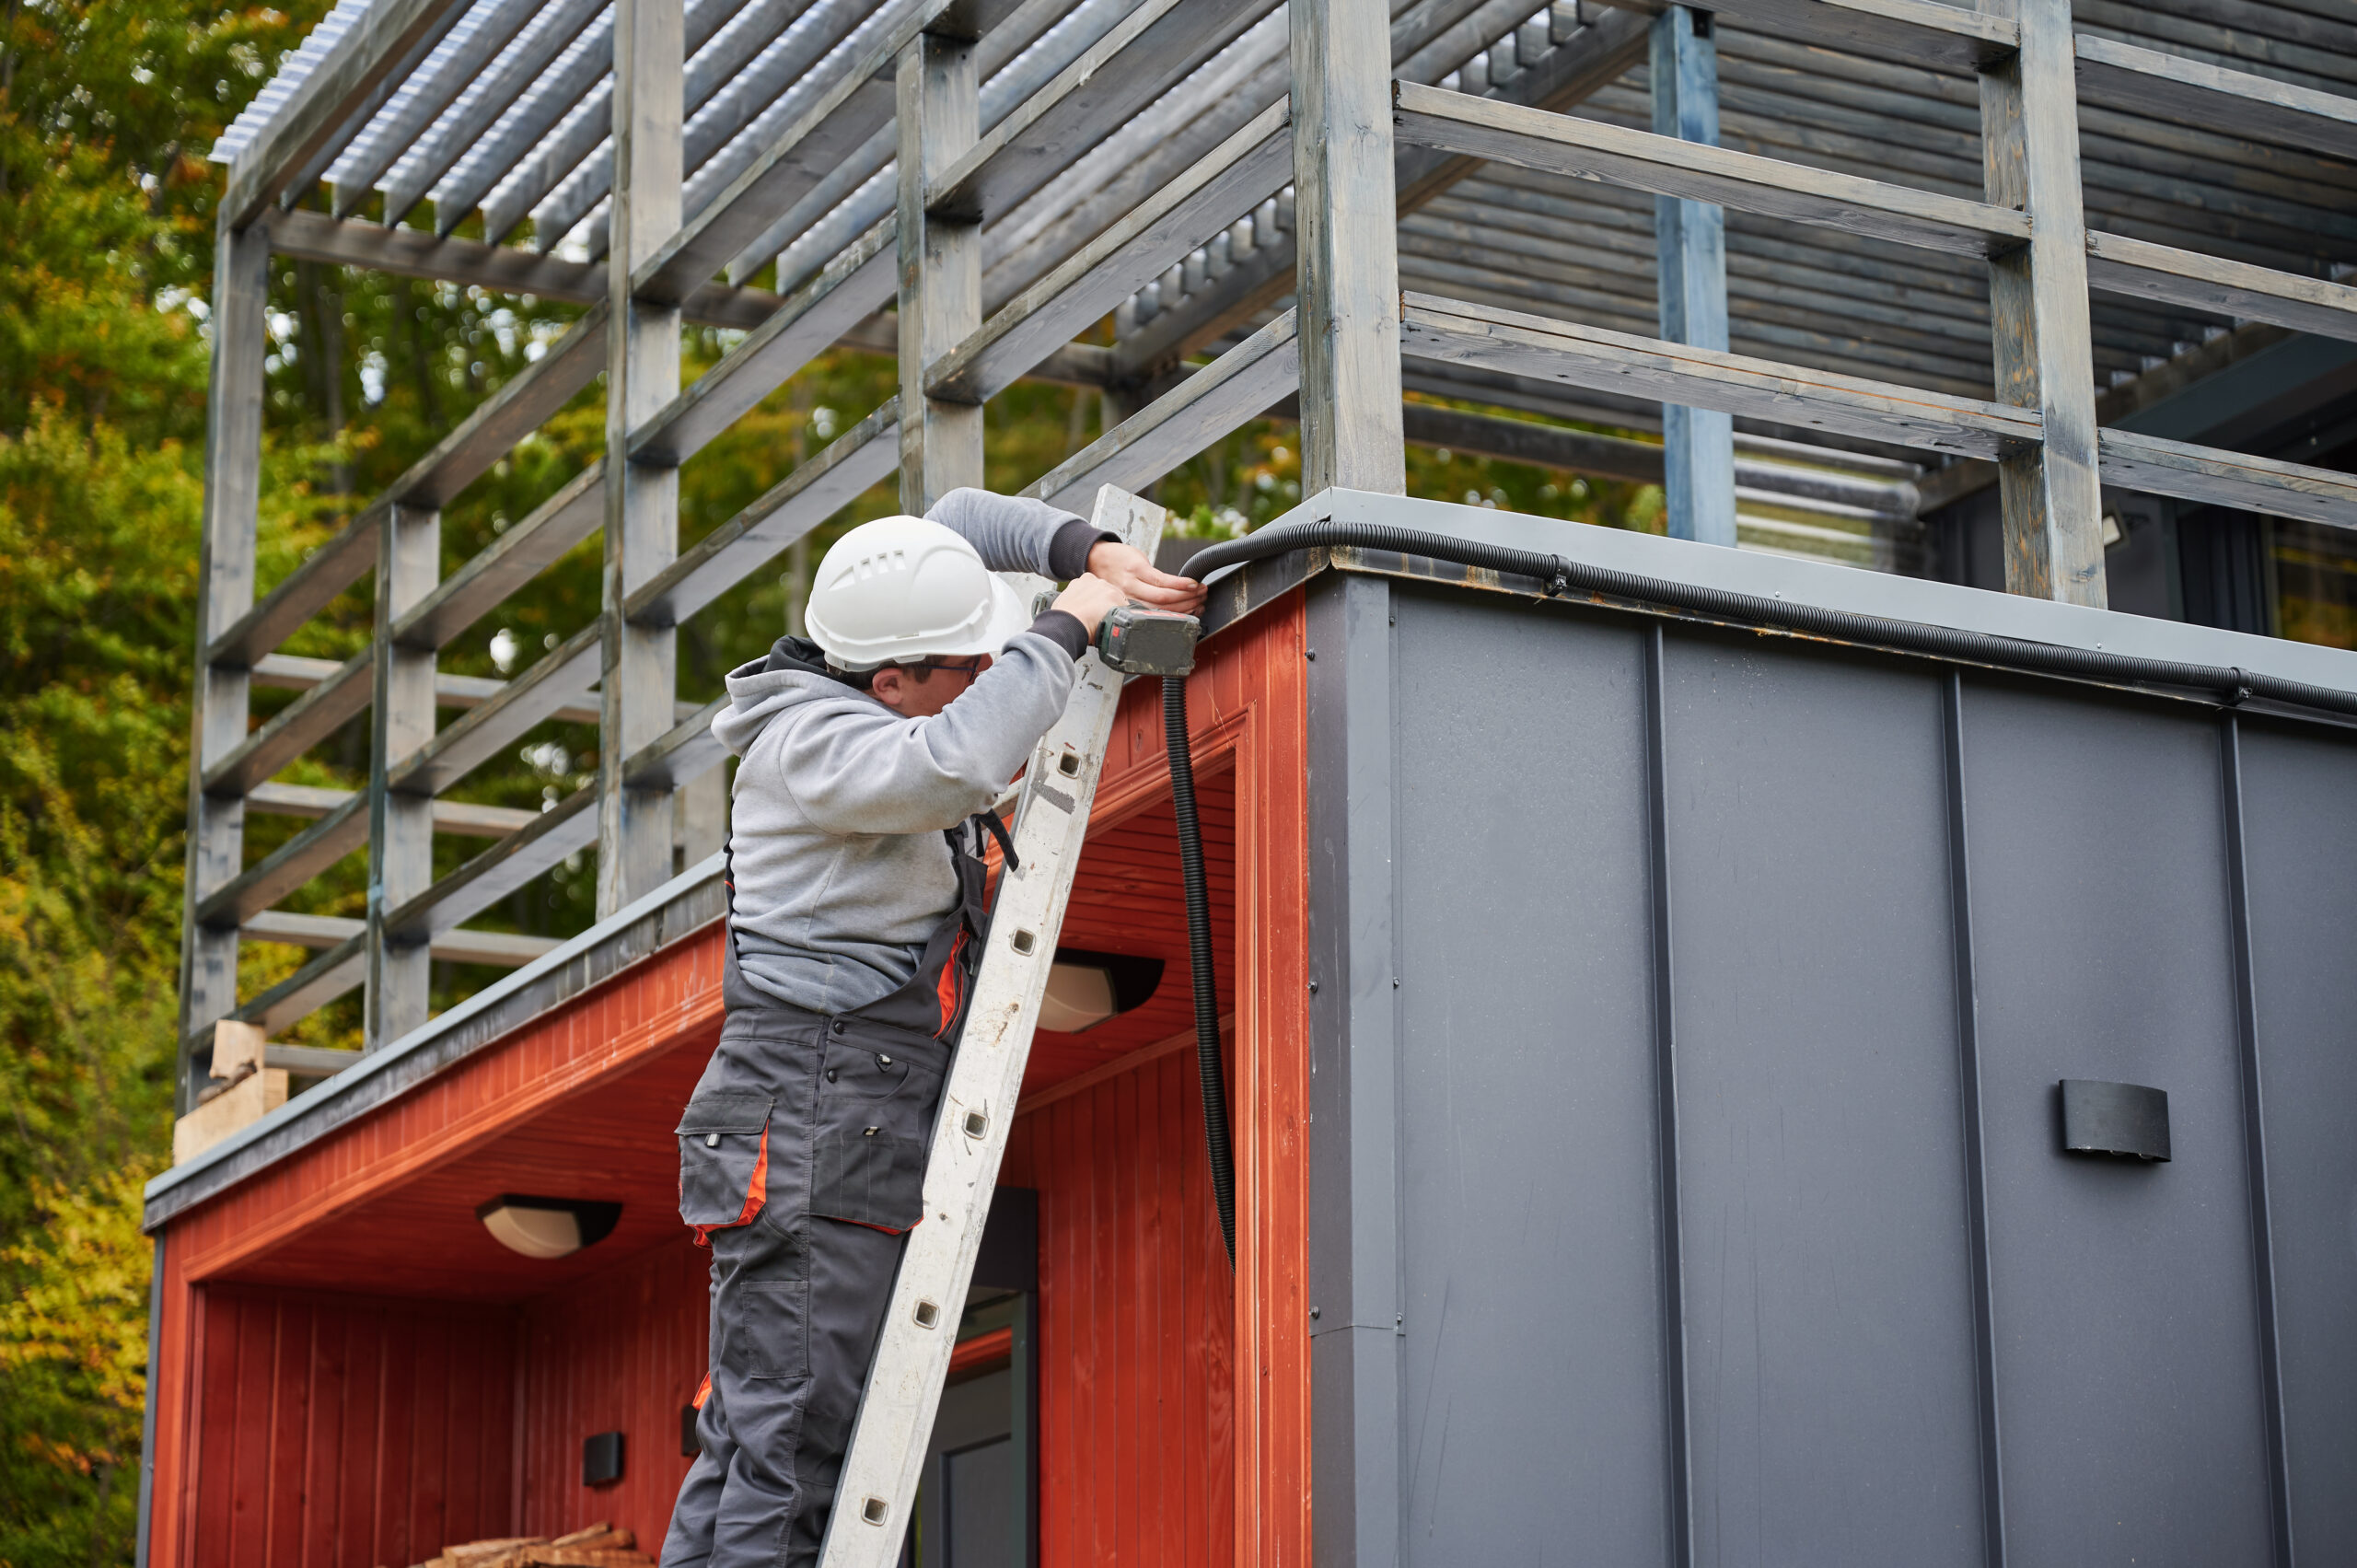
Installing aluminum composite panel (ACP) roofing requires careful planning, preparation, and attention to detail to ensure durability, functionality, and aesthetic appeal. Below is an elaborate guide to the entire process, including best practices, safety considerations, and expert tips.
Overview of ACP Roofing
Aluminum Composite Panels (ACPs) are lightweight, durable, and versatile materials, made from a core material (usually polyethylene or a fire-retardant core) sandwiched between two thin aluminum sheets. They are widely used in roofing due to their:
- Durability: Resistance to corrosion, UV rays, and weather conditions.
- Flexibility: Easy to cut, shape, and install for both flat and curved designs.
- Aesthetic Options: Wide range of colors, textures, and finishes.
- Cost-effectiveness: Long lifespan with minimal maintenance.
Step-by-Step Installation Guide
1. Pre-Installation Preparation
- Site Inspection and Roof Assessment
- Assess the existing structure for stability and load-bearing capacity.
- Verify that the roof pitch meets water drainage requirements (minimum slope of 5 degrees is recommended for ACP roofs).
- Material Selection
- Choose ACPs suitable for roofing (fire-resistant ACPs are recommended for safety).
- Select colors and finishes that complement the building’s design.
- Design and Layout Planning
- Create detailed drawings of the panel layout to minimize cutting and waste.
- Plan for overlapping and expansion gaps to ensure durability.
- Procure Tools and Materials
- Tools: Measuring tape, circular saw with aluminum blades, drill, rivet gun, rubber mallet, clamps, and level.
- Materials: ACP sheets, aluminum or steel support frames, fasteners, waterproof sealant, insulation (optional), and edge trims.
2. Frame Construction
- Support Frame Installation
- Construct a sturdy, corrosion-resistant frame (aluminum or galvanized steel is ideal).
- Align the frame to the roof pitch, ensuring proper spacing and reinforcement.
- Fasten the frame securely to the roof structure using screws or bolts.
- Crossbars and Reinforcements
- Add crossbars for additional support in areas with high wind or heavy rain loads.
- Ensure uniform spacing between supports to distribute the weight of the ACP evenly.
3. Cutting and Shaping ACPs
- Measuring and Marking
- Use a measuring tape to mark precise dimensions for each panel.
- Double-check measurements to ensure accuracy and prevent material wastage.
- Cutting Panels
- Use a circular saw with a blade specifically designed for aluminum to cut the panels.
- Cut slowly and steadily to avoid damaging the panel edges.
- Smoothing Edges
- Deburr the edges using a file or sandpaper to remove sharp or uneven surfaces.
4. Panel Installation
- Positioning the Panels
- Start at one edge of the roof and work sequentially.
- Align the first panel with the frame, ensuring it is level and flush with the edges.
- Securing Panels
- Drill holes through the panels and the frame for screws or rivets.
- Fasten the panels using corrosion-resistant screws or rivets, ensuring they are not overtightened to avoid dents.
- Overlapping and Joining
- Overlap adjacent panels slightly to prevent water ingress. Follow manufacturer-recommended overlap guidelines (usually 25-50 mm).
- Use sealant or silicone between overlaps for additional waterproofing.
- Expansion Gaps
- Leave small gaps (2-3 mm) between panels to accommodate thermal expansion and contraction.
- Trimming and Finishing
- Install edge trims and corner caps to provide a polished finish and protect exposed edges from water or debris.
- Use rubber mallets to secure trims without damaging the panels.
5. Sealing and Waterproofing
- Applying Sealant
- Use a high-quality, UV-resistant waterproof sealant or silicone along all joints, overlaps, and fasteners.
- Smooth the sealant with a putty knife for a clean finish.
- Inspecting Seals
- Ensure there are no gaps or bubbles in the sealant.
- Allow the sealant to cure as per the manufacturer’s instructions before exposing the roof to heavy rain or other weather conditions.
6. Post-Installation Steps
- Inspection
- Check alignment and fastening of all panels.
- Test the waterproofing by spraying water over the roof to detect leaks.
- Clean-Up
- Remove all debris, excess sealant, and protective film from the panels.
- Clean the ACP surface with a mild detergent and water.
Safety Considerations
- Working at Heights
- Use proper safety gear, such as helmets, harnesses, and non-slip footwear.
- Follow local regulations and safety standards for roof work.
- Handling ACP Panels
- Wear gloves to avoid cuts from sharp edges.
- Transport panels carefully to prevent bending or denting.
- Electrical Safety
- Ensure that power tools are grounded and used with care.
Maintenance Tips
- Regular Cleaning
- Wash the ACP roof periodically with a soft cloth and non-abrasive cleaner.
- Avoid using harsh chemicals that could damage the coating.
- Inspection
- Check for loose fasteners, damaged seals, or panel warping at least twice a year.
- Repairs
- Promptly address any issues such as leaks or dents to prevent further damage.
Common Challenges and Solutions
| Challenge | Solution |
| Uneven frame surface | Shim the frame or adjust fasteners to create a level base. |
| Warping of panels | Ensure proper thermal expansion gaps and avoid overtightening fasteners. |
| Leaks at joints | Reapply sealant and verify overlapping is adequate. |
| Scratches on panel surface | Handle panels carefully and repair minor scratches with touch-up paint. |
Conclusion
Installing aluminum composite panel roofing is a meticulous process that combines structural engineering, precision cutting, and waterproofing. Following this detailed guide and adhering to manufacturer recommendations will help ensure a long-lasting, aesthetically pleasing, and functional roof. If you are unsure about any aspect of the installation, consider consulting a professional to achieve optimal results.


Leave a Reply